Hi, I’m playing with the idea of change the stock fan of the CHUWI CoreBox 4th and I saw that the fan connector is not the “standar” cpu fan connector. I think that it’s the typical 4 pin PWM connector of VGA cards but I’m not sure. Can anyone confirm it? Thank you in advance!
First, I played in bios with the percentage fan speeds and the temperatures in the thermal settings but I hadn’t luck. It’s like everything that you change has no effect. The OEM fan always reproduce the same rpm/noise behavior depending if system is in idle or in charge. I could’t see the fan rpm’s in BIOS or in any Windows program but I tried different configurations and the noise always was the same.
After that, I dettached the OEM fan and I putted a 92mm Noctua NF-B9 redux-1600 PWM (with the homemade cable/connector conversor) over the nude cooler in order to test if a silent fan could do the job. I don’t know why but the Noctua runs at lowest rpm everytime and sometimes runs fast and slow each 3 seconds without any reason (system in idle). The temperatures in that scenario were high.
I disconnected the control pin/cable in order to see the behavior of the Noctua acting like a 3 pin fan and it reached the full speed (high noise).
Finally I decided splice two rpm speed reducers to the Noctua fan in order to reduce the rpms and the noise (I had them saved in a drawer). The fan runs always at the same speed in absolute silent and the temperatures in idle are 22-24º and in charge never overpass 68º. Normally, if I test it with cinebench, the temperatures oscile between 45-58º but sometimes suddenly it touches 68º during 1 second an then it falls. This behavior is something that I saw with the stock fan too but reaching 74º. HWiNFO doesn’t show any problem with thermal throttling during tests.
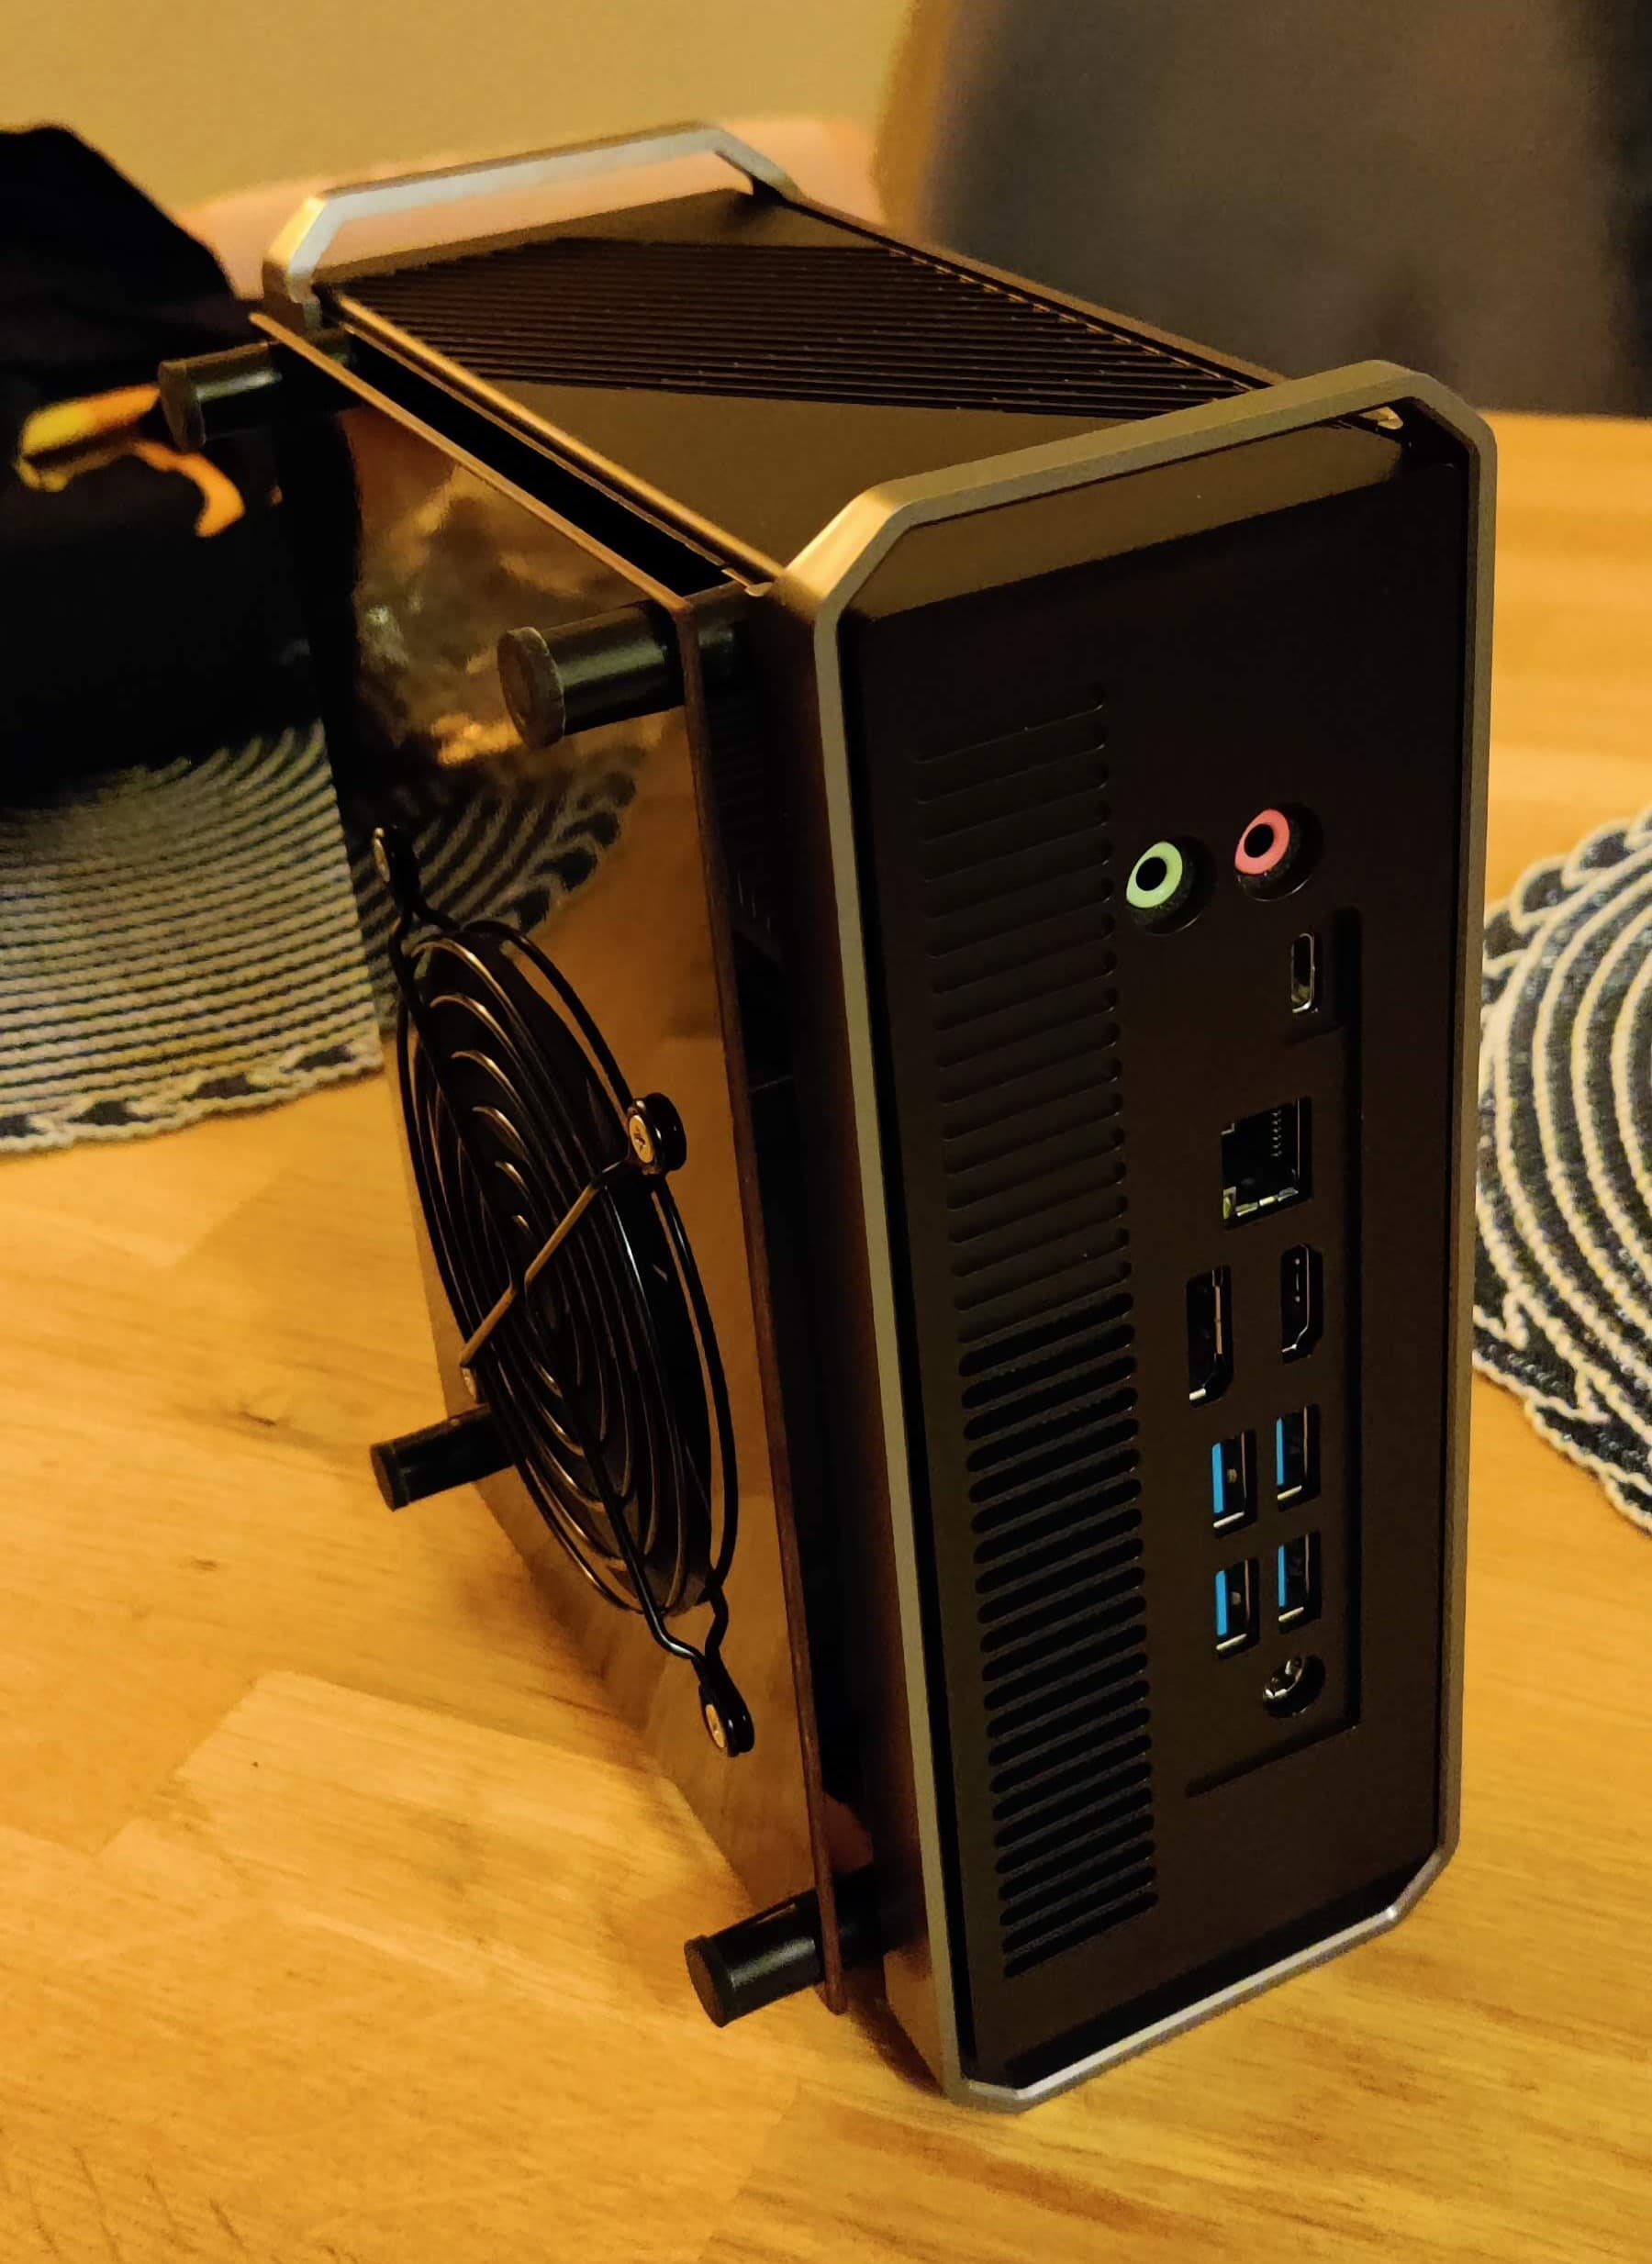
I made a homemade cover with a hole for a 92mm fan. I putted 4 spacers between the chuwi and the new cover in order to allow the standar 25mm height of the fan and I bought a 92mm black grille in Aliexpress to finish it. Furthermore, I putted 4 legs (spacers with an adhesive rubber at the end) in order to allow the airflow in the bottom and reduce the noise vibration.
I think that the 92mm ARCTIC F9 Silent (1000rpm) could do the job without any cable resistances or maybe it could be close to the silent with the same performance.
If you don’t want make a custom cover, I think (I didn’t test it) that it’s possible put a 120mm low profile fan (15mm height) inside the Chuwi. The problem are the lateral guides (the long and thin places where rest the original cover) because testing a 120mm standard fan, them didn’t allow him to enter in the hole for ~1mm. If you cut or file those guides, I think that It could enter but if you modify them, you could lose the warranty if you have any problem with the Chuwi.
I would like to share with you my mod to control the fan speed of the Chuwi CoreBox. Special thanks to @Wolfix for giving me the idea of the 120x15 fan and his fantastic mod that has served as inspiration.
Important!: To fit the fan it is necessary to remove the metal support for the 2.5 disk
I detail the steps of the mod:
1º Disassemble the Chuwi
It is necessary to remove all the screws to be able to remove the side guides of the case, necessary to be able to easily disconnect the old fan I leave a video of the disassembly process: https://youtu.be/sMgZsb4zXUM?si=pQMTfU8lJ-SBrtEZ&t=423
2º Make a custom “Micro JST” cable
We are only interested in the cables at the ends which is where the 12V tension passes We can cut the two middle cables so they don’t get in the way Join the red cable from the mini cable with the red cable from the controller Join the green cable with the black cable from the controller Solder or join the cables, I have crimped them and covered them with electrician’s tape.
Power-off state: “1” (open): We disable the fan to turn off
The temperature control will start working at 35º The fan speed will increase progressively up to 65º (35+30). After 60º the fan would go to maximum speed
With this configuration I don’t hear the fan at all in standby This configuration is good for me at this moment, keep in mind that right now it’s winter and maybe in the future I will have to recalibrate the configuration
With the help of electrician’s tape I fix the cables so they don’t move With double-sided tape I fix the controller to the box With double-sided tape I fix the fan to one end of the box.