It worked! ![]() do this I already did it.
do this I already did it.
Also made a little tutorial, I got my Linux partition working and everything booting correctly
That is very good news.
Location of the chip: is it the 8-pin chip closest to the larger square indent on the heatsink?
Did you flash with (the standard) 3.3V, that is, without a 1.8V adapter?
Any other useful information maybe?
1 Like
Guys, by flashing the bios nothing will happen. I had the exact same issue (thanks by the way chuwi for shipping a bios that bricks your laptop if you change something in the config  ) and I flashed the bios several times, it didn’t work (be carefull however, there are two spi chips, the one further away from the cpu is for the embedded controller and has only 1mb of storage, the other one has such tiny legs, I found it very difficult to attach the clip, btw. the bios spi chip is 1.8v).
The reason why is that the bios config is not stored on the chip but in a separate NVRAM / CMOS. On desktop PC’s you would take out the CMOS battery, on this particular laptop I believe the only thing working is plugging off the power and battery for a sufficient long time. @joalruch did you plug off the power and battery for flashing? If not, what kind of flashing tool did you use?
2 Likes
Please post in this thread if you are interested in getting coreboot BIOS support.
3 Likes
Yes also is easy to identify since it’s the one that has a little colored dot (in mine was red) close to the processors plate, also the orientation for the tools is what matters remember there’s a little black circle in one of the corners which indicates to what side the red cable has to go and don’t forget to unplug the battery. The model I used was ch341a and the adaptor with 8 pins yes, once in the software, choose “identify”, once connected, it will find a Gigadevice 25q80. There’s plenty of YouTube tutorials about how to use it 
1 Like
First you have to disconnect the battery, then you connect the tool (ch341a and find the correct orientation) once there, in the software it must be detected as gigadevice 27q80) then erase it and flash the bios.bin file that management provides in another thread here in the forums, it booted fine after this, in my thread I also wrote how to boot into Linux and avoid the black screen. Hope it helps!
1 Like
Success! The laptop boots again after clearing the BIOS settings.
Thanks to the hint by @lead4good: leave the battery connector disconnected for a while. There is no need to flash the BIOS.
Steps:
- Disconnect the laptop from the charger.
- Open the laptop.
- Lift the black tape that runs along the side of the battery. Lift it on the motherboard side were the connector is located.
- Gently push the battery connector (the one with red, white, blue and black wires) out of its socket.
- Wait a while (try one hour) and then reconnect the battery.
(I also pressed the power button for a few seconds while the battery was disconnected.)
3 Likes
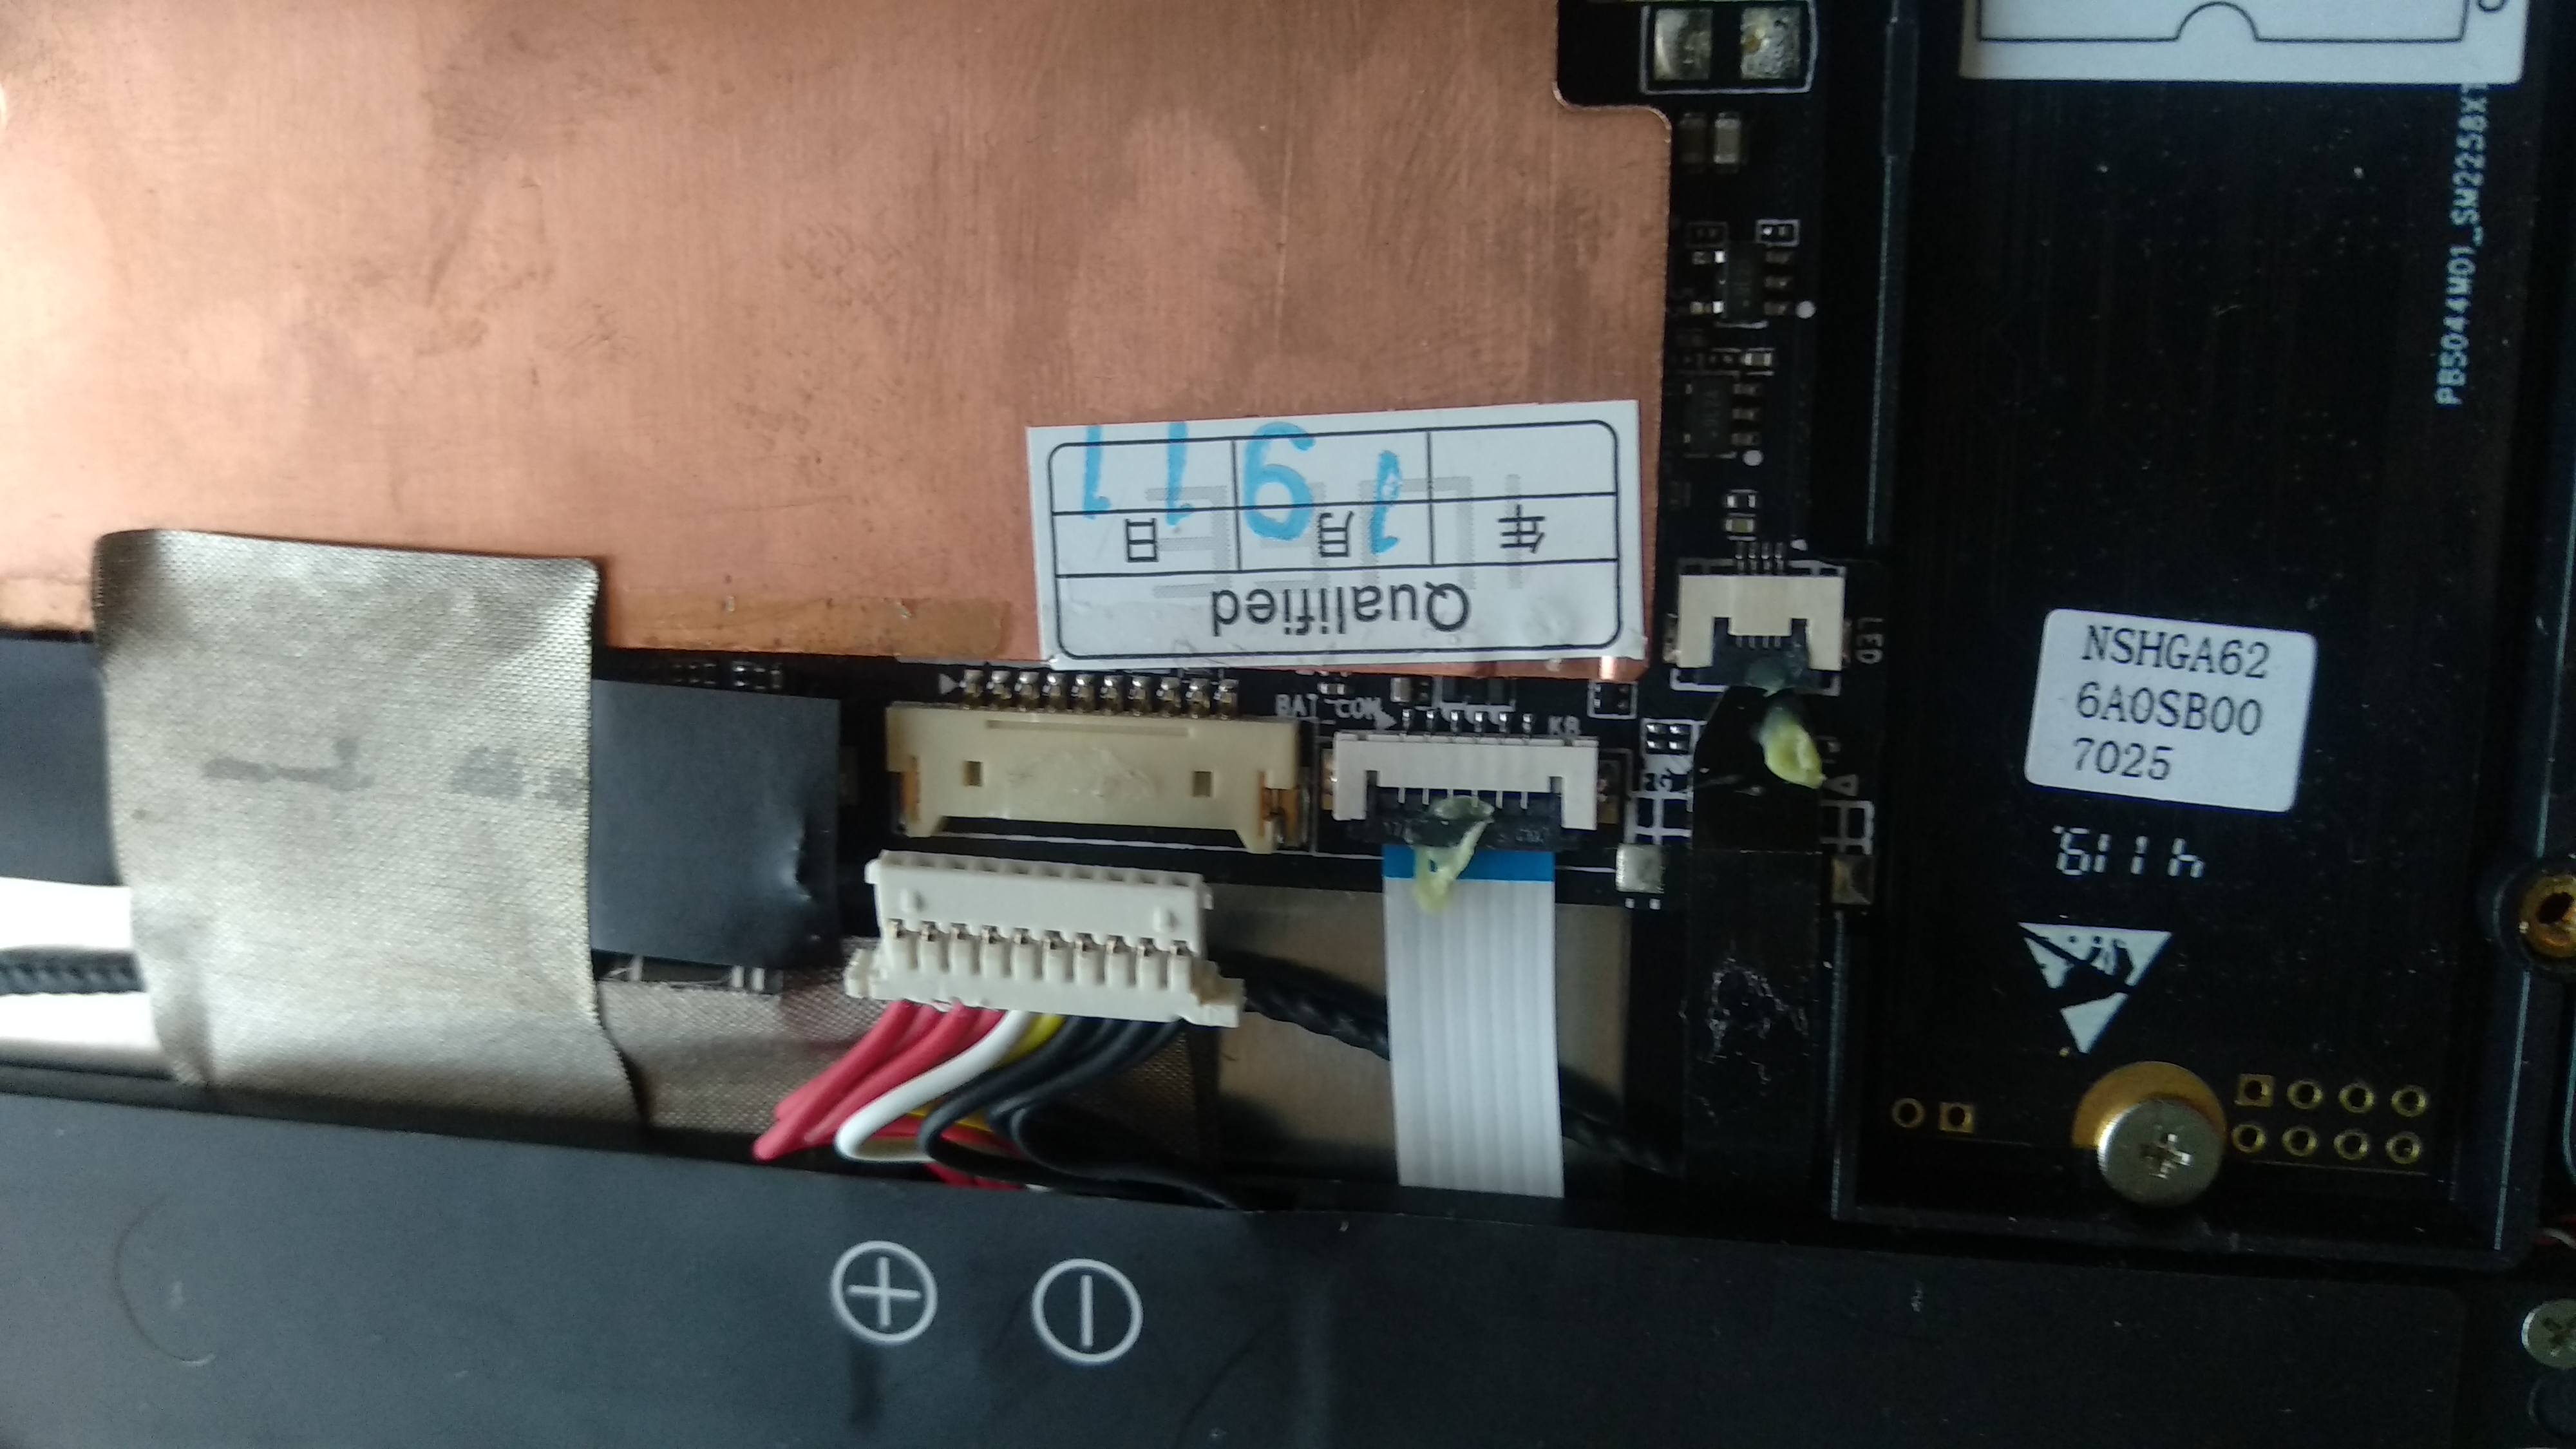
Please specify. I have a lapbook pro 8/256 Type: cwi530. He has a connector for connecting the battery: four black, one white, one yellow and four red wires.
Removing this connector and waiting for 12 hours did not bring any results.
I have the same model and specs. Everything I tried is mentioned in this thread.
There is only one large connector with wires to the motherboard. The rest are all flat cables IIRC. (You can unscrew the battery and lift it a little to look underneath and double-check which wires/cable are coming out of the battery.)
hmm … it’s strange that the model is the same, but the connectors are different. repeated these steps and left the laptop without power for 24 hours, this did not help. Here is my battery connector.
1 Like
I think you have to do what I did about flashing the BIOS chip with the ch341a and the 8pin adaptor.
I have got, the same problem. I have tried the same methods, no result. Support, please give us a manual with photos, what spots on the MB to Short-circuit to reset default bios setups. We really need it badly. If not, all of ass will try to send back this goods. The money was paid, no support was given.
3 Likes
We have: motherboard G140J rev0.4
Gigadevice 25Q80CSIG - 3.3 V 1 MB (content analysis showed that it is ec.bin)
Gigadevice 25LB64CVIG - 1.8v 8 Mb (until I was able to connect, I continue to try)
archive with firmware E.G140J.D8.E1.006 & GLK_EC_G140J_V130906.zip
it contains bios.bin firmware file - 8 Mb
and ec.bin file - 131 Kb
CH341A adapter + clothespin + 1.8 adapter
Ch341a programmer 1.34 software
Firmware only ec.bin did not give anything.
The question is how to determine and flash Gigadevice 25LB64CVIG?
1 Like
What the problem with 25LB64CVIG ?
Flash only the one just called bios.bin. that one worked for me
25LB64CVIG, this is in the VSOP8 form factor. These are very short legs, unlike SOP8. And I could not connect to it tightly with a clothespin, I have it SOP8.
It seems that for the firmware you need to get it off the board.
Clarify, please. In which chip did you flash the 8MB bios.bin file?
In here I mention it at the end, it’s the one with the a colored spot (in mine it was red) is next to the metal plate that covers the processor. Use the 8 pins adaptor.
Yes, I read it. the volume of the chip with the red dot is 1mb, and the BIOS file cannot be written, it is 8mb
It worked just fine, I don’t know exactly the capacity but the software reads it correctly, all I did was to do a back up, then wipe it and at the end just flash it.